Smappee EV Charger
About the Smappee Flex (Genius II)
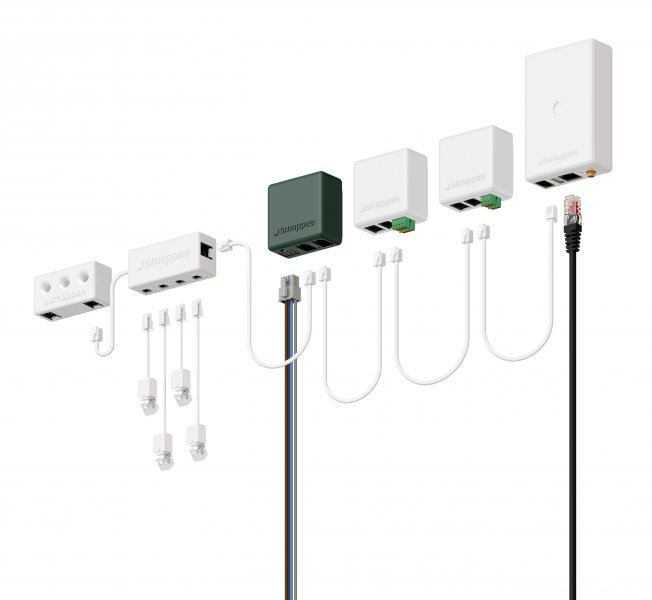
The Smappee Flex (Genius II) acts as the central gateway for Smappee EV chargers. Rather than communicating with the physical charging hardware directly, the Controller interfaces with the Flex (Genius II).
The Flex(Genius II) hosts an embedded local MQTT broker that bridges the hardware and your local network. By securely connecting to this broker, the Controller can read real-time telemetry (like energy usage and charging states) and send direct control commands.
Supported Devices
| Device Type | Modbus TCP (Ethernet) | RS485 | MQTT |
|---|---|---|---|
| Smappee Flex (Genius II) | ❌ | ❌ | ✅ |
Configuration
The Smappee Flex (Genius II) connects via its local MQTT broker over TLS on port 443. You need the charger UUID and local MQTT credentials before adding the device.
Prerequisites
- Open the Smappee Expert Portal and navigate to Local MQTT.
- Note down the Charger UUID (e.g.
xxxxxx-xxxxx-xxxx-xxxx-xxxxxxxxx). - Ensure the Controller can reach the genius on TCP port 443.
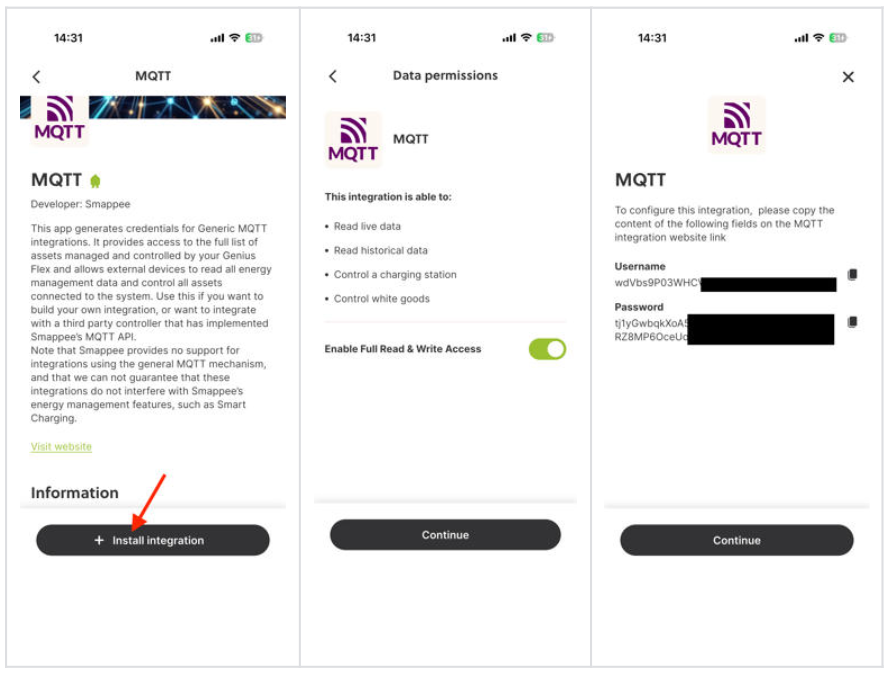
Generating the MQTT credentials
Navigate to the Smappee Store in the mobile application:
- Make sure you have a Flex (Genius II) activated on your location
- Go to Control → Smappee Store
- Tap “Manage”
- Find the “MQTT” app
- Tap “Install Integration”
Adding the Device
When scanning for devices, provide the following inputs:
| Field | Description |
|---|---|
| Charger UUID | UUID visible in the Smappee Expert Portal under Local MQTT |
| Username | Local MQTT broker username |
| Password | Local MQTT broker password |
Tip
Sometimes the UUID shown in the smappee app is not correct. If you do not fill in a UUID in the scan it will automatically detect any smappee charger communicating on with the MQTT broker.
Supported EV chargers
The Smappee flex supports all smappee ev-chargers
Charging States
| State | Description |
|---|---|
| No vehicle connected | No EV plugged in |
| Vehicle connected | EV plugged in, not charging |
| Charging | Active charging session |
| Paused | Session paused |
| Session ended | Charging session completed |
| Unavailable | Connector unavailable |
| Error | Fault condition |
| Booting | Charger is starting up |
Multi-Connector Support
A single Smappee Flex (Genius II) can expose multiple connectors. All connectors share one MQTT connection. Each connector is represented as a separate child device and can be controlled independently.