
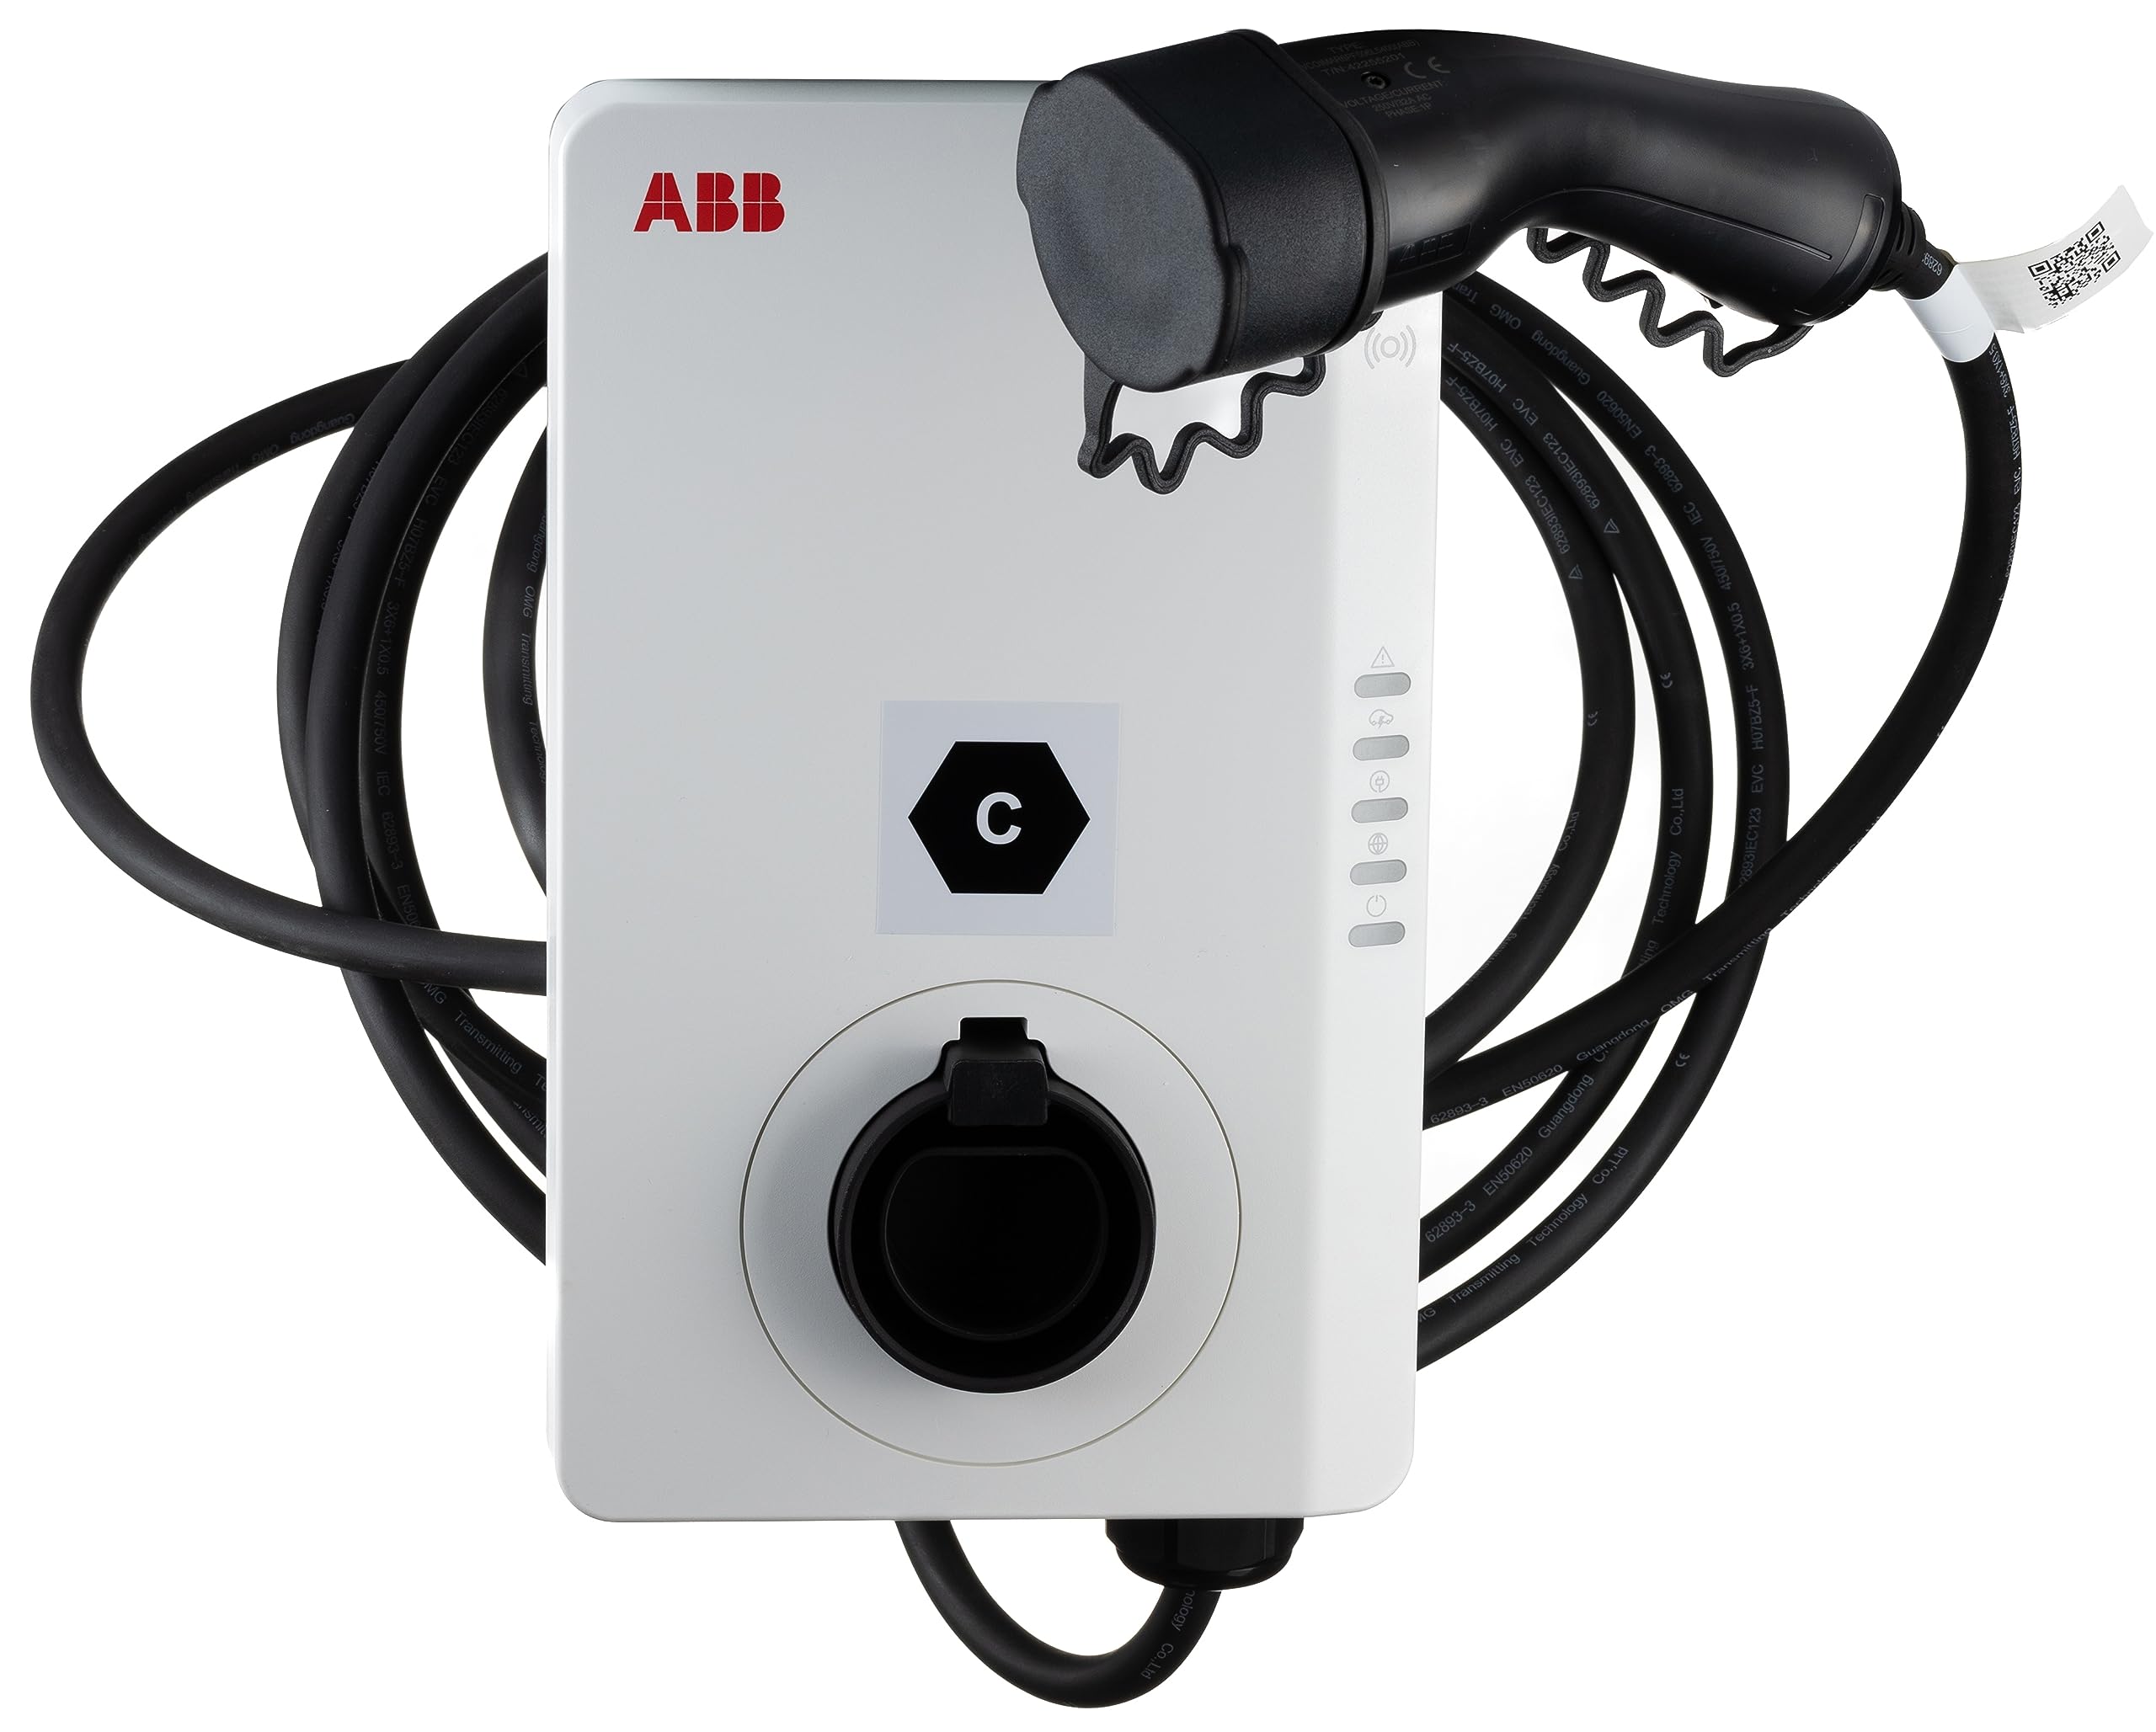
ABB charging stations

a-TroniX

Supported Devices

Device TypeVariantsModbus TCP (Ethernet)RS485
ABB Terra AC/
Image 1

Wiring

Ethernet

For correct ethernet wiring: Follow the the guidelines for ethernet wiring.

RS485

RS485 Wiring
  • For correct RS485 wiring: Follow the guidelines for RS485 wiring.
  • If the wiring shown in the table below is incorrect, please let us know.
  • There is no general consensus in the industry about the usage of A and B for the RS485 polarity, so it may be counterintuitive and opposite of what you might expect for some devices.
DeviceSmartgridOne Controller model OM1SmartgridOne Controller model IG8RS485-USB converterRS485-Ethernet converter
RS485 ARS485_POSRS485 ATX+
RS485 BRS485_NEGRS485 BTX-
RS GNDGNDNot availableG

Configuration

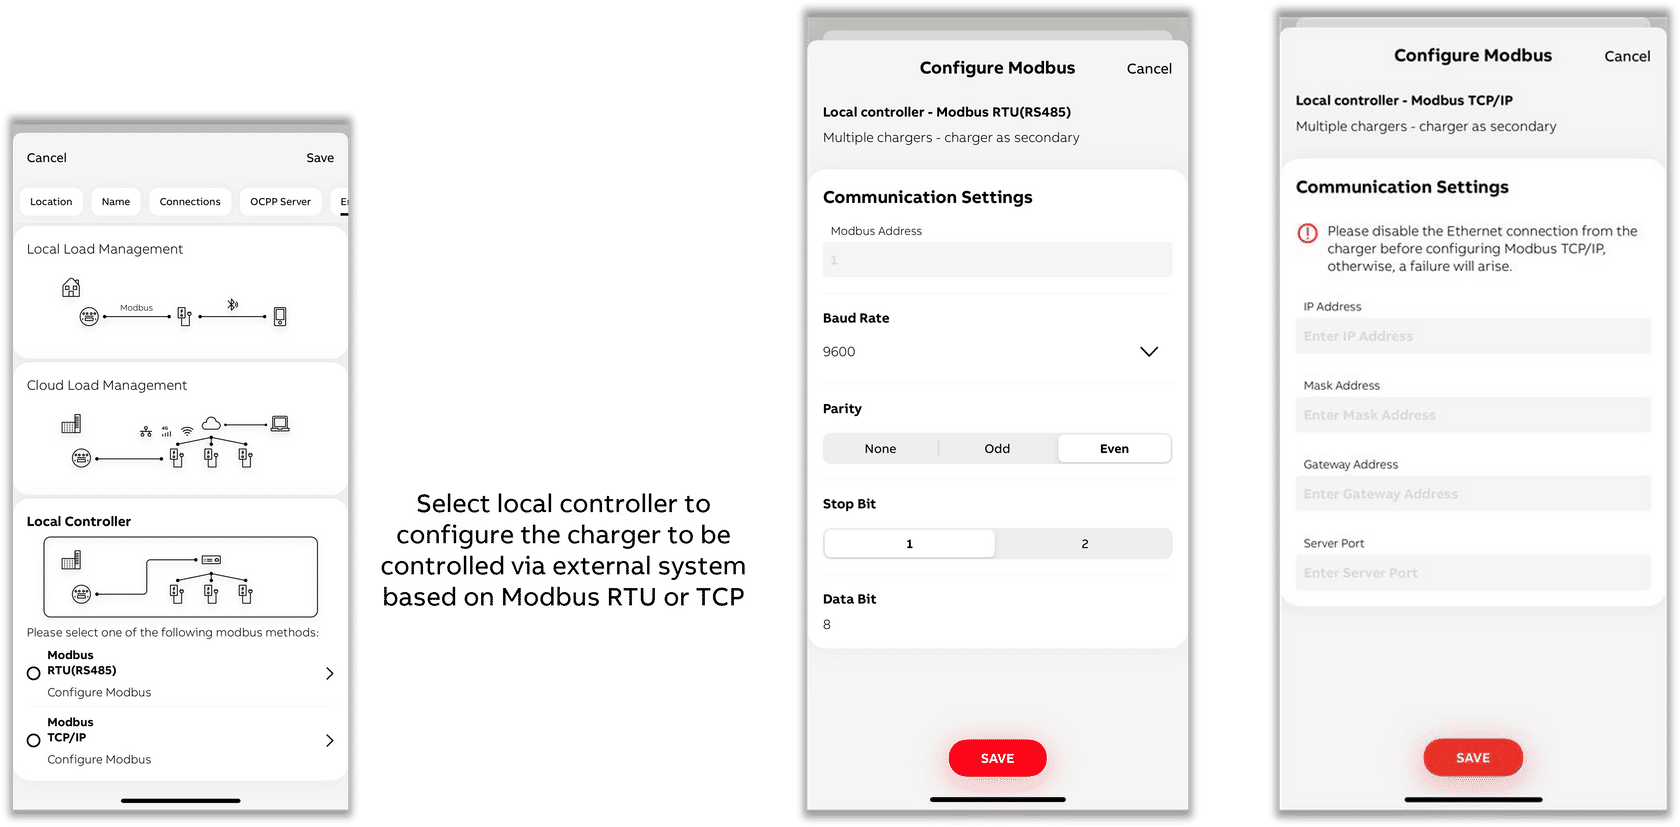
After the electrical installation of a charger is complete, follow these steps to configure the charger:

  1. Download the configuration app from https://e-mobility.abb.com/products-services/terraconfig/. More information on using the app can be found here: https://guides.e-mobility.abb.com/TerraConfig2MobileApp_EN/#/
  2. On the dashboard, select "Configure a charger."
  3. Enable Bluetooth on your phone, as this is necessary for the app to communicate with the charger during the commissioning process.
  4. Choose a charger from the available list.
Image 1
  1. You can also select a charger by scanning the SN barcode with the app.
  2. Be sure to scan the charger's SN bar code, which usually begins with "TAC" (although this may vary depending on the product variant).
Image 1
  1. After selecting a charger to connect to, enter the PIN.
  2. Select below the option "EDIT CURRENT CONFIGURATION" - or if the charging station has not yet been configured, then select "Start from scratch."
  3. Make sure your phone or mobile app is connected to the Internet for PIN validation.
  4. Throughout the process, the app will display a pop-up confirming that all settings will be applied to the charger simultaneously once you get to the last step.
Image 1
  1. Click on the "Energy management" submenu.
Image 1
  1. Toggle "Modbus" on.
Image 1
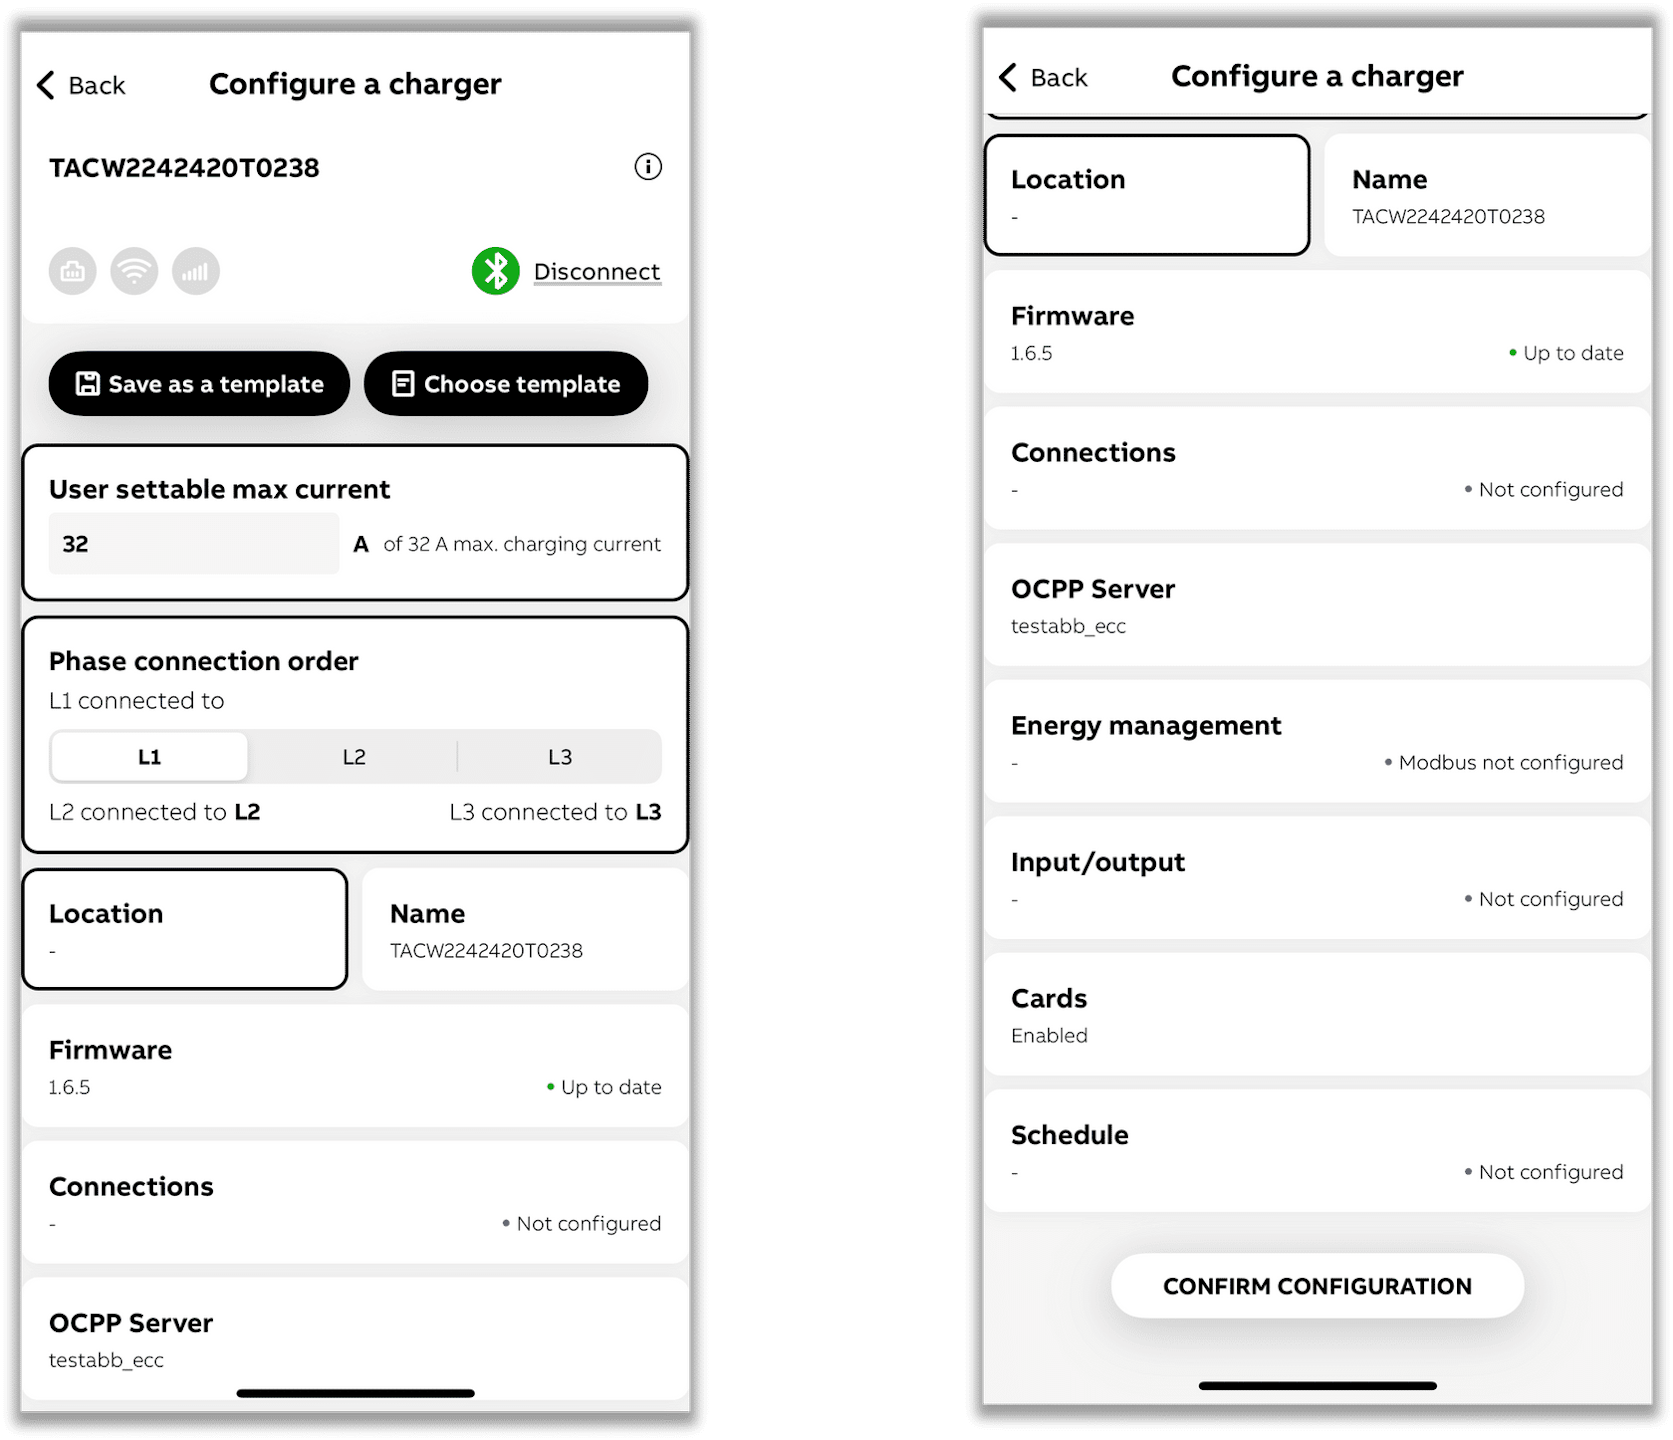
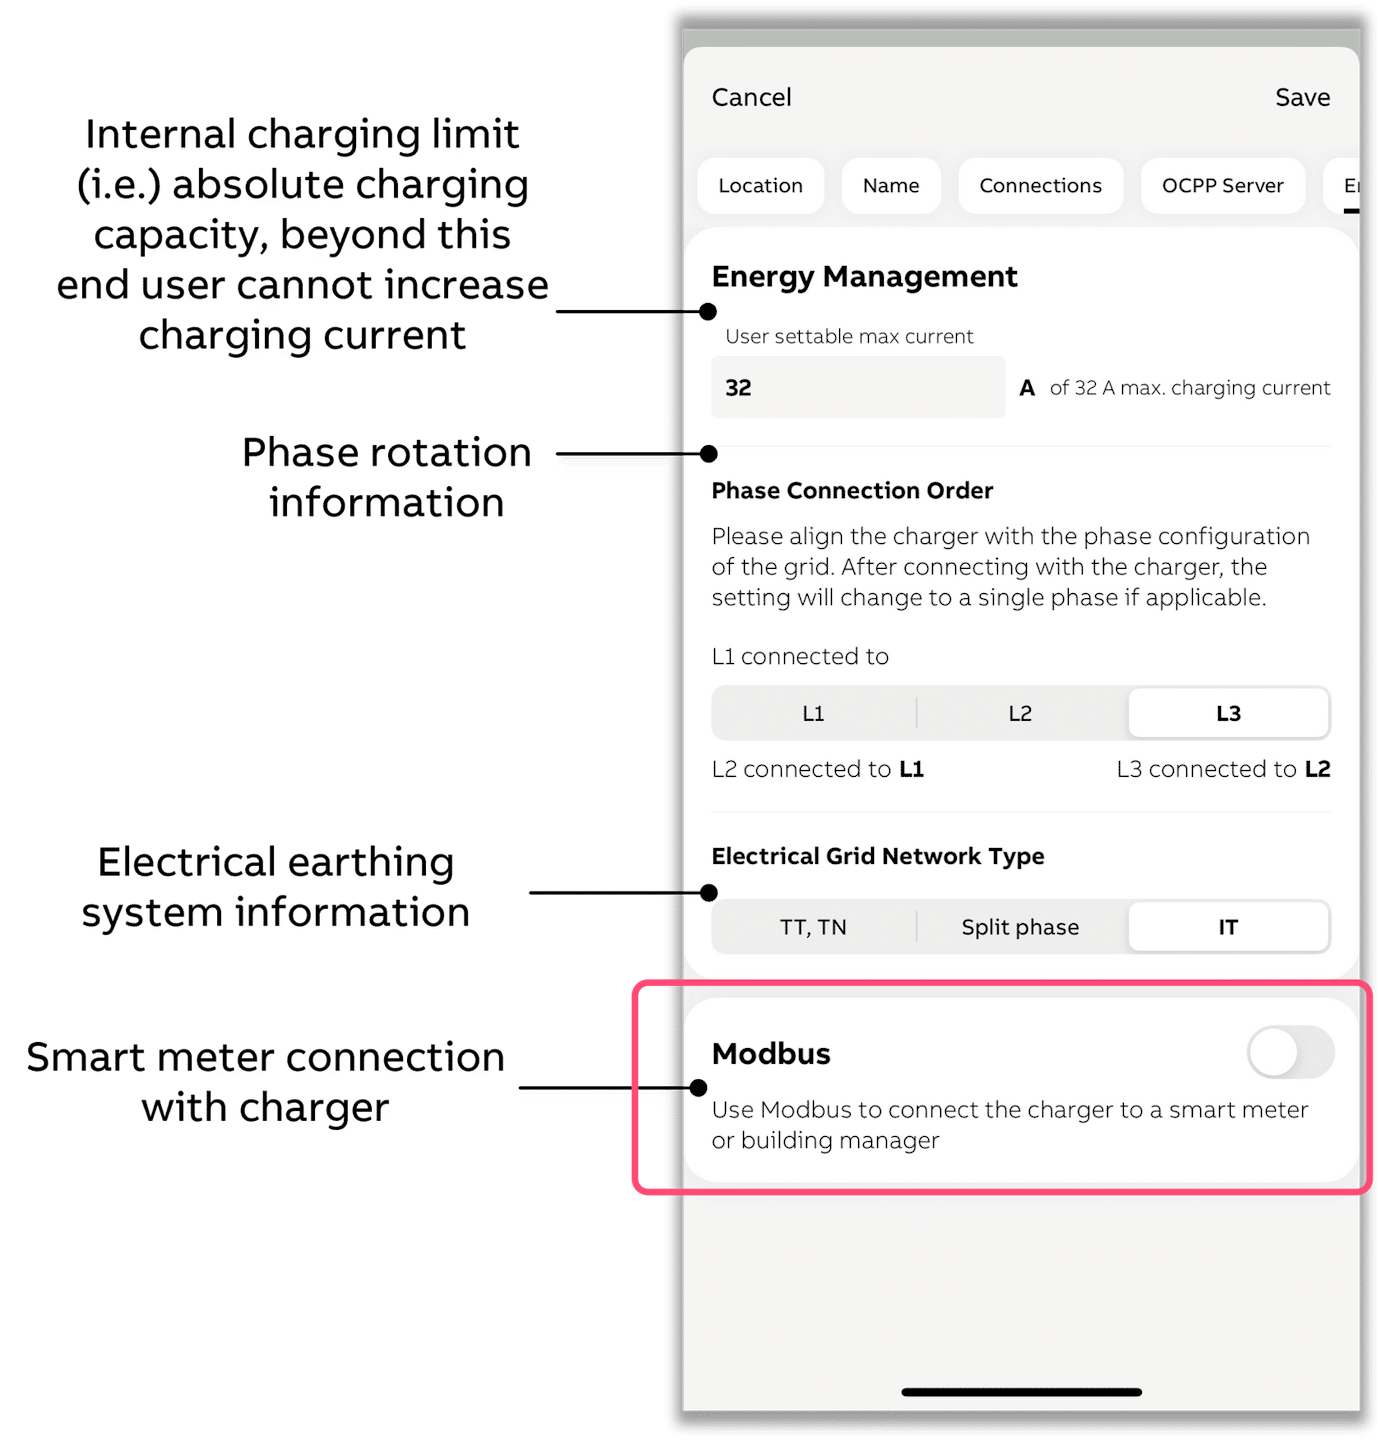
  1. Select "Local controller" and then "Modbus RTU (RS485)" or "Modbus TCP/IP" depending on whether the charging station is connected to the via RS485 or Ethernet.

    Modbus RTU (RS485)

  2. Choose a unique Modbus address, different from all other Modbus addresses of devices on the same RS485 bus.

  3. Choose baud rate 9600, parity Even, stop bits 1 and data bits 8

    Modbus TCP/IP

  4. You must set a fixed IP address in the charging station within the same network range as the .

  5. Important: Always choose 502 as the server port.

  6. For home and small business networks, a typical setup is with e.g. fixed IP address 192.168.1.50:

    • IP address: 192.168.1.50
    • Mask address: 255.255.255.0
    • Gateway address (the address of your router): 192.168.1.1
    • Server Port: 502
Image 1